

Quick View
SHR #01785
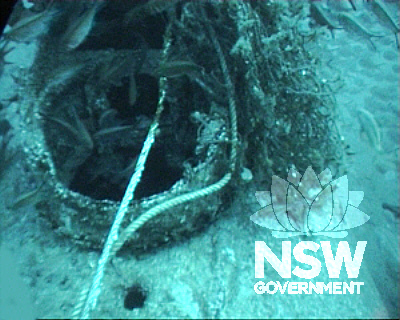
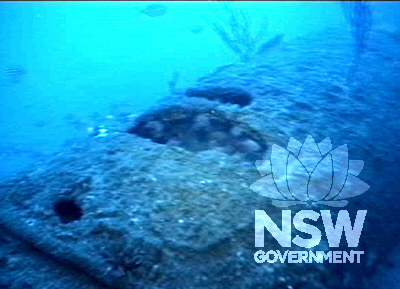
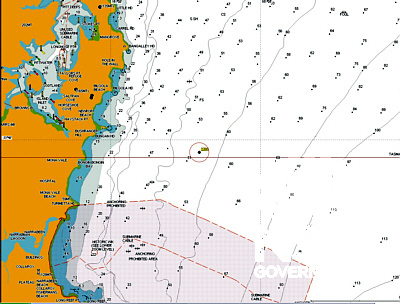
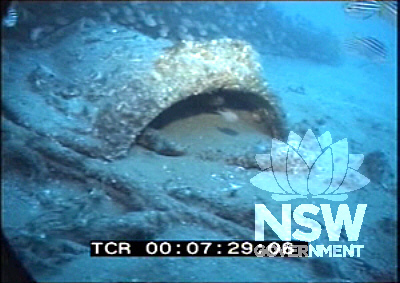
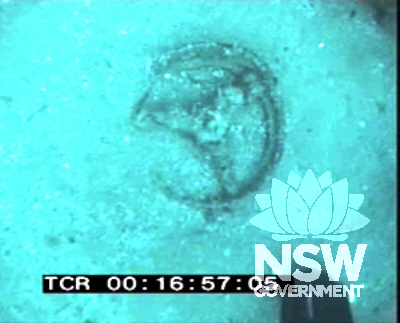
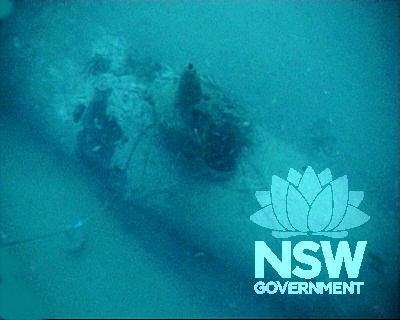
East of Bungan Head, (off) NEWPORT NSW 2106
Unincorporated Offshore
Unknown
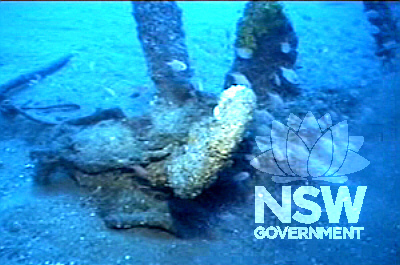
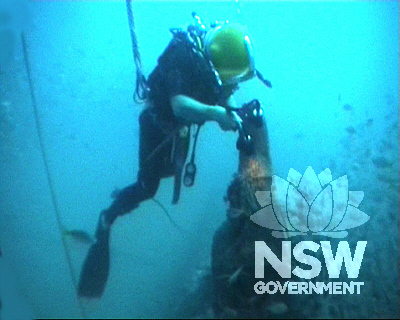
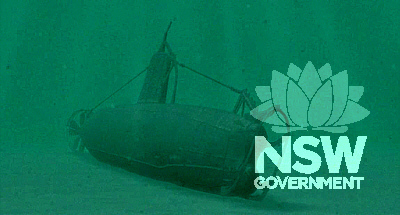
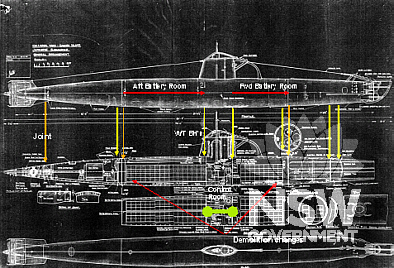
Archaeological-Maritime
Transport - Water
Naval vessel